
Deine Maniküre für zu Hause.
Gepflegte Nägel, ohne in den Salon zu gehen? Wir haben die Lösung für dich. Unser Guide für die richtige Anwendung deiner gitti Produkte - für glänzende und gepflegte Nägel, ohne dein Zuhause zu verlassen.

Deine gitti Maniküre in nur drei Schritten: Das Infinite Gloss System.
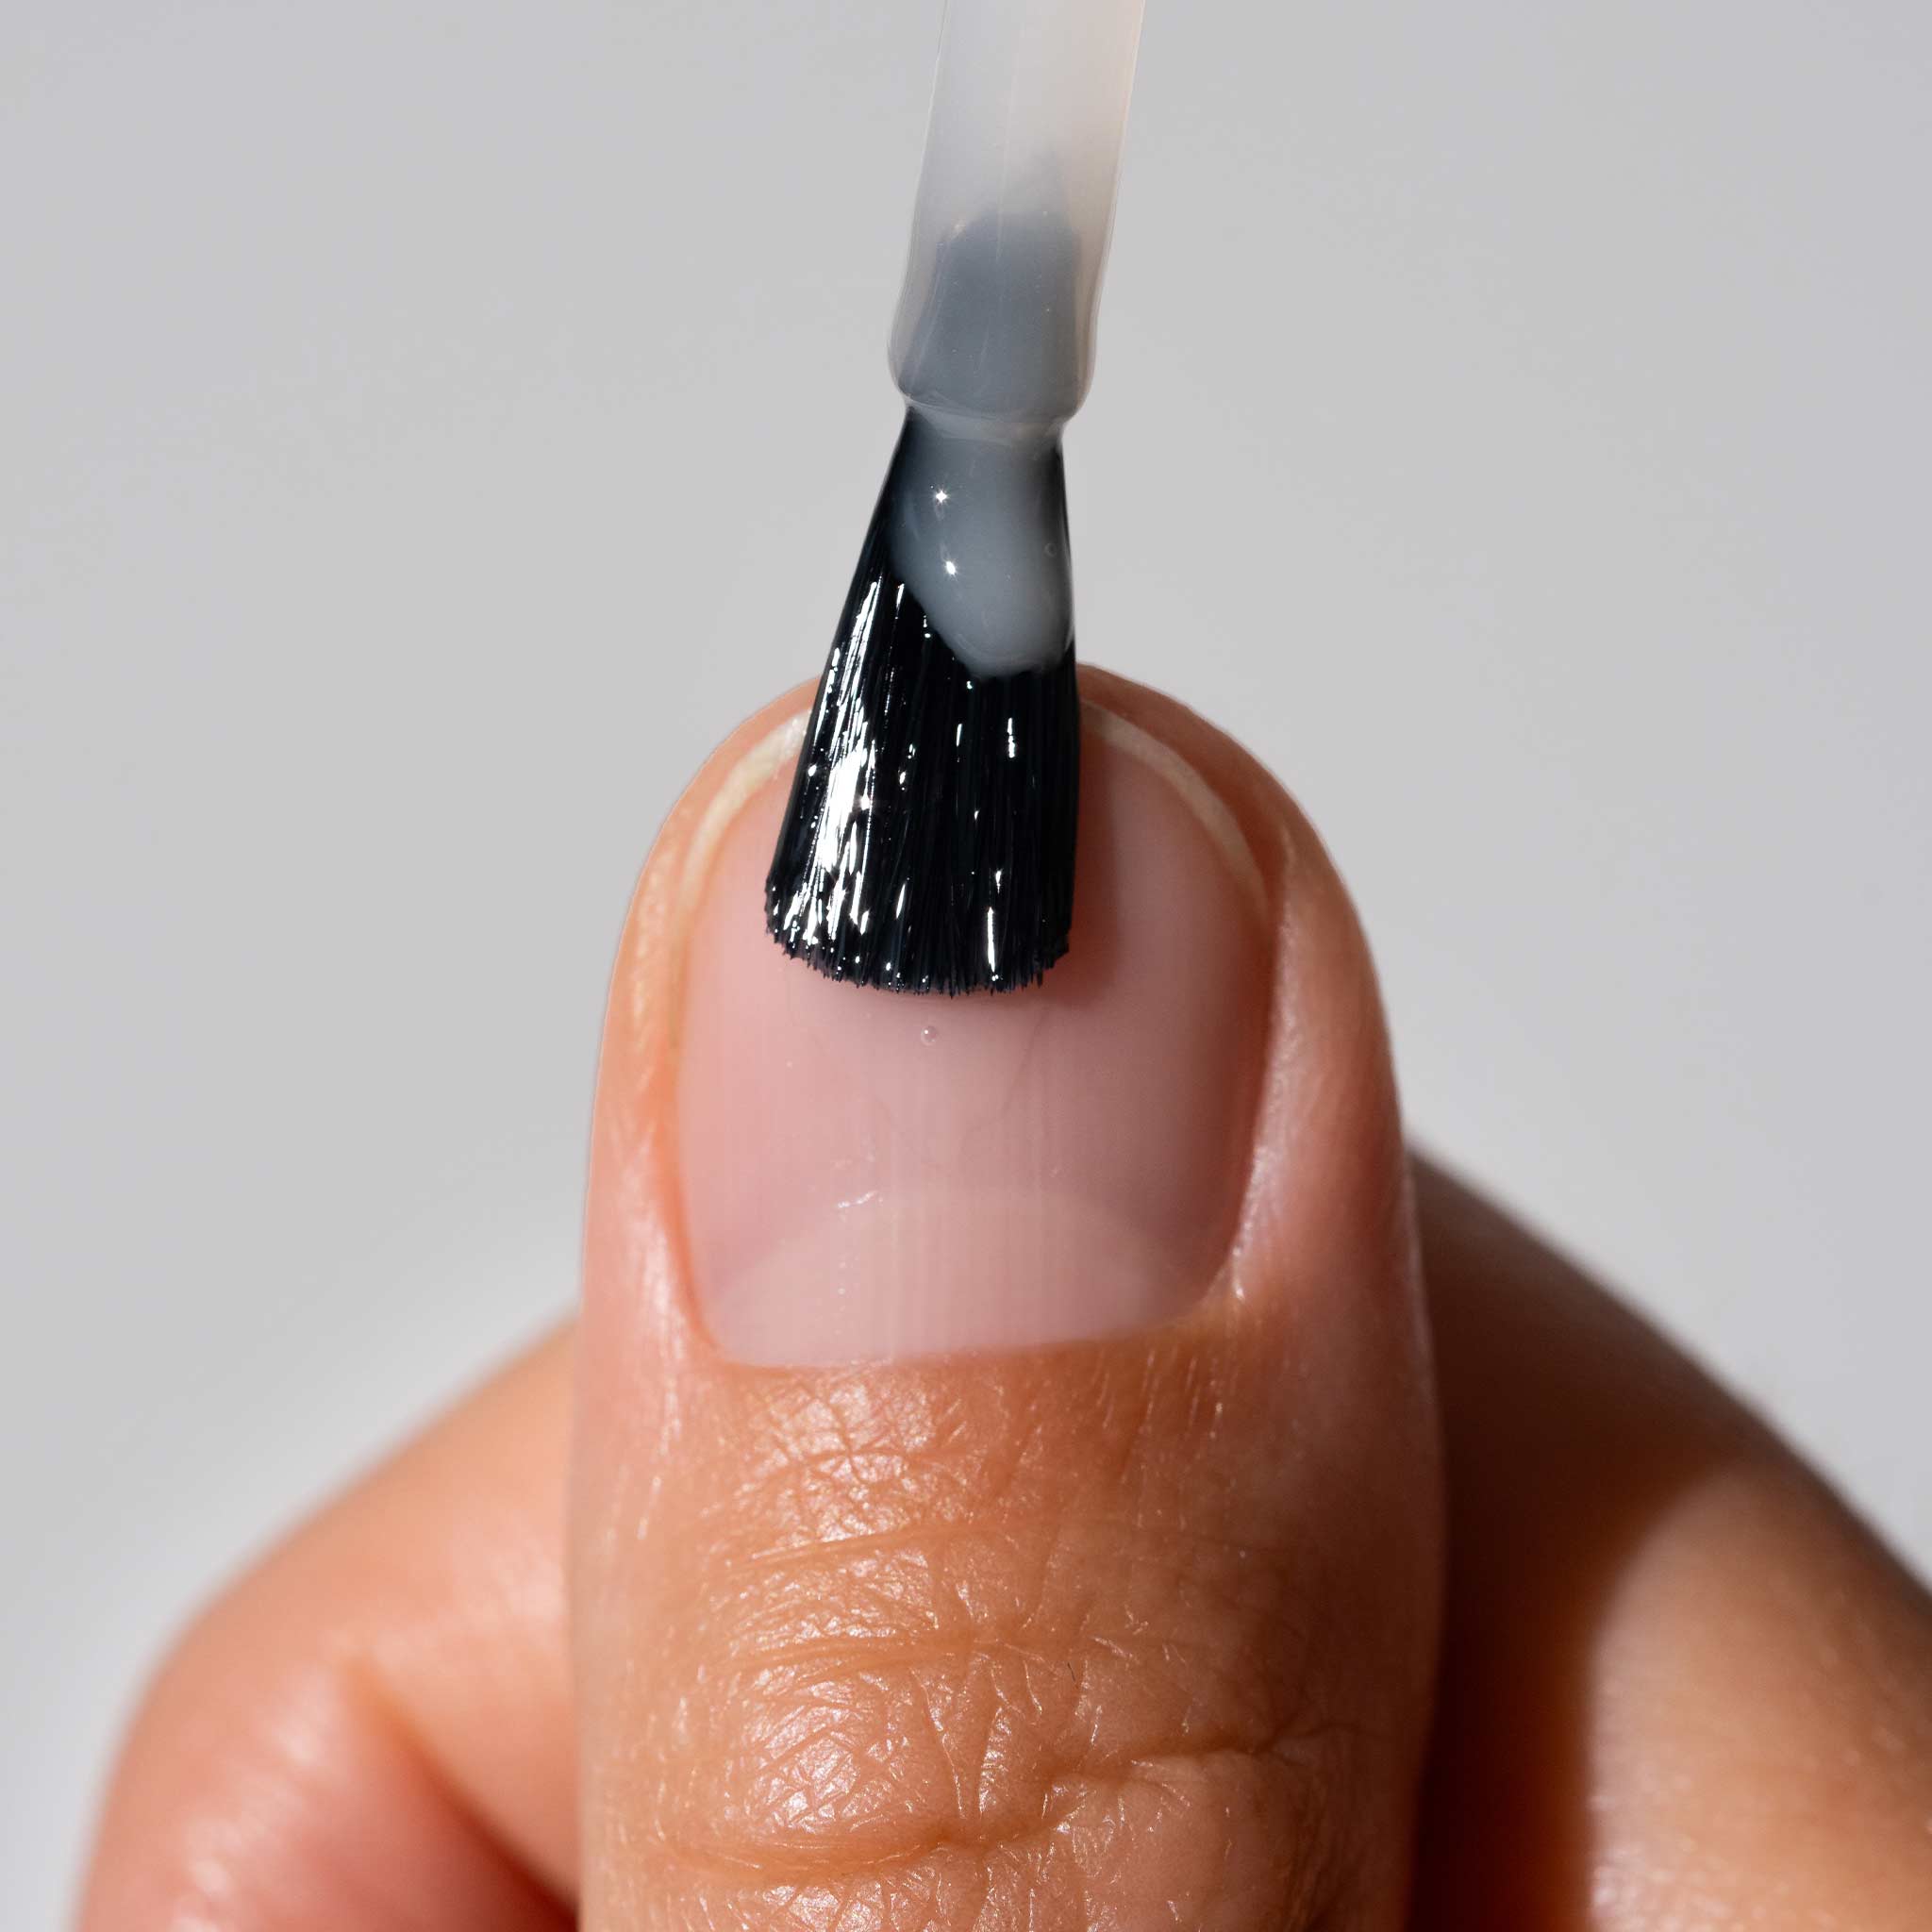
Smoothing Nail Primer.
Beginne mit einer Schicht Nail Primer auf sauberen, fettfreien Nägeln. Unser Primer ist mit Kaolin und Mastix angereichert, um Unebenheiten auszugleichen und die Nageloberfläche zu glätten - die ideale Grundlage für Ihre lang anhaltende Maniküre.
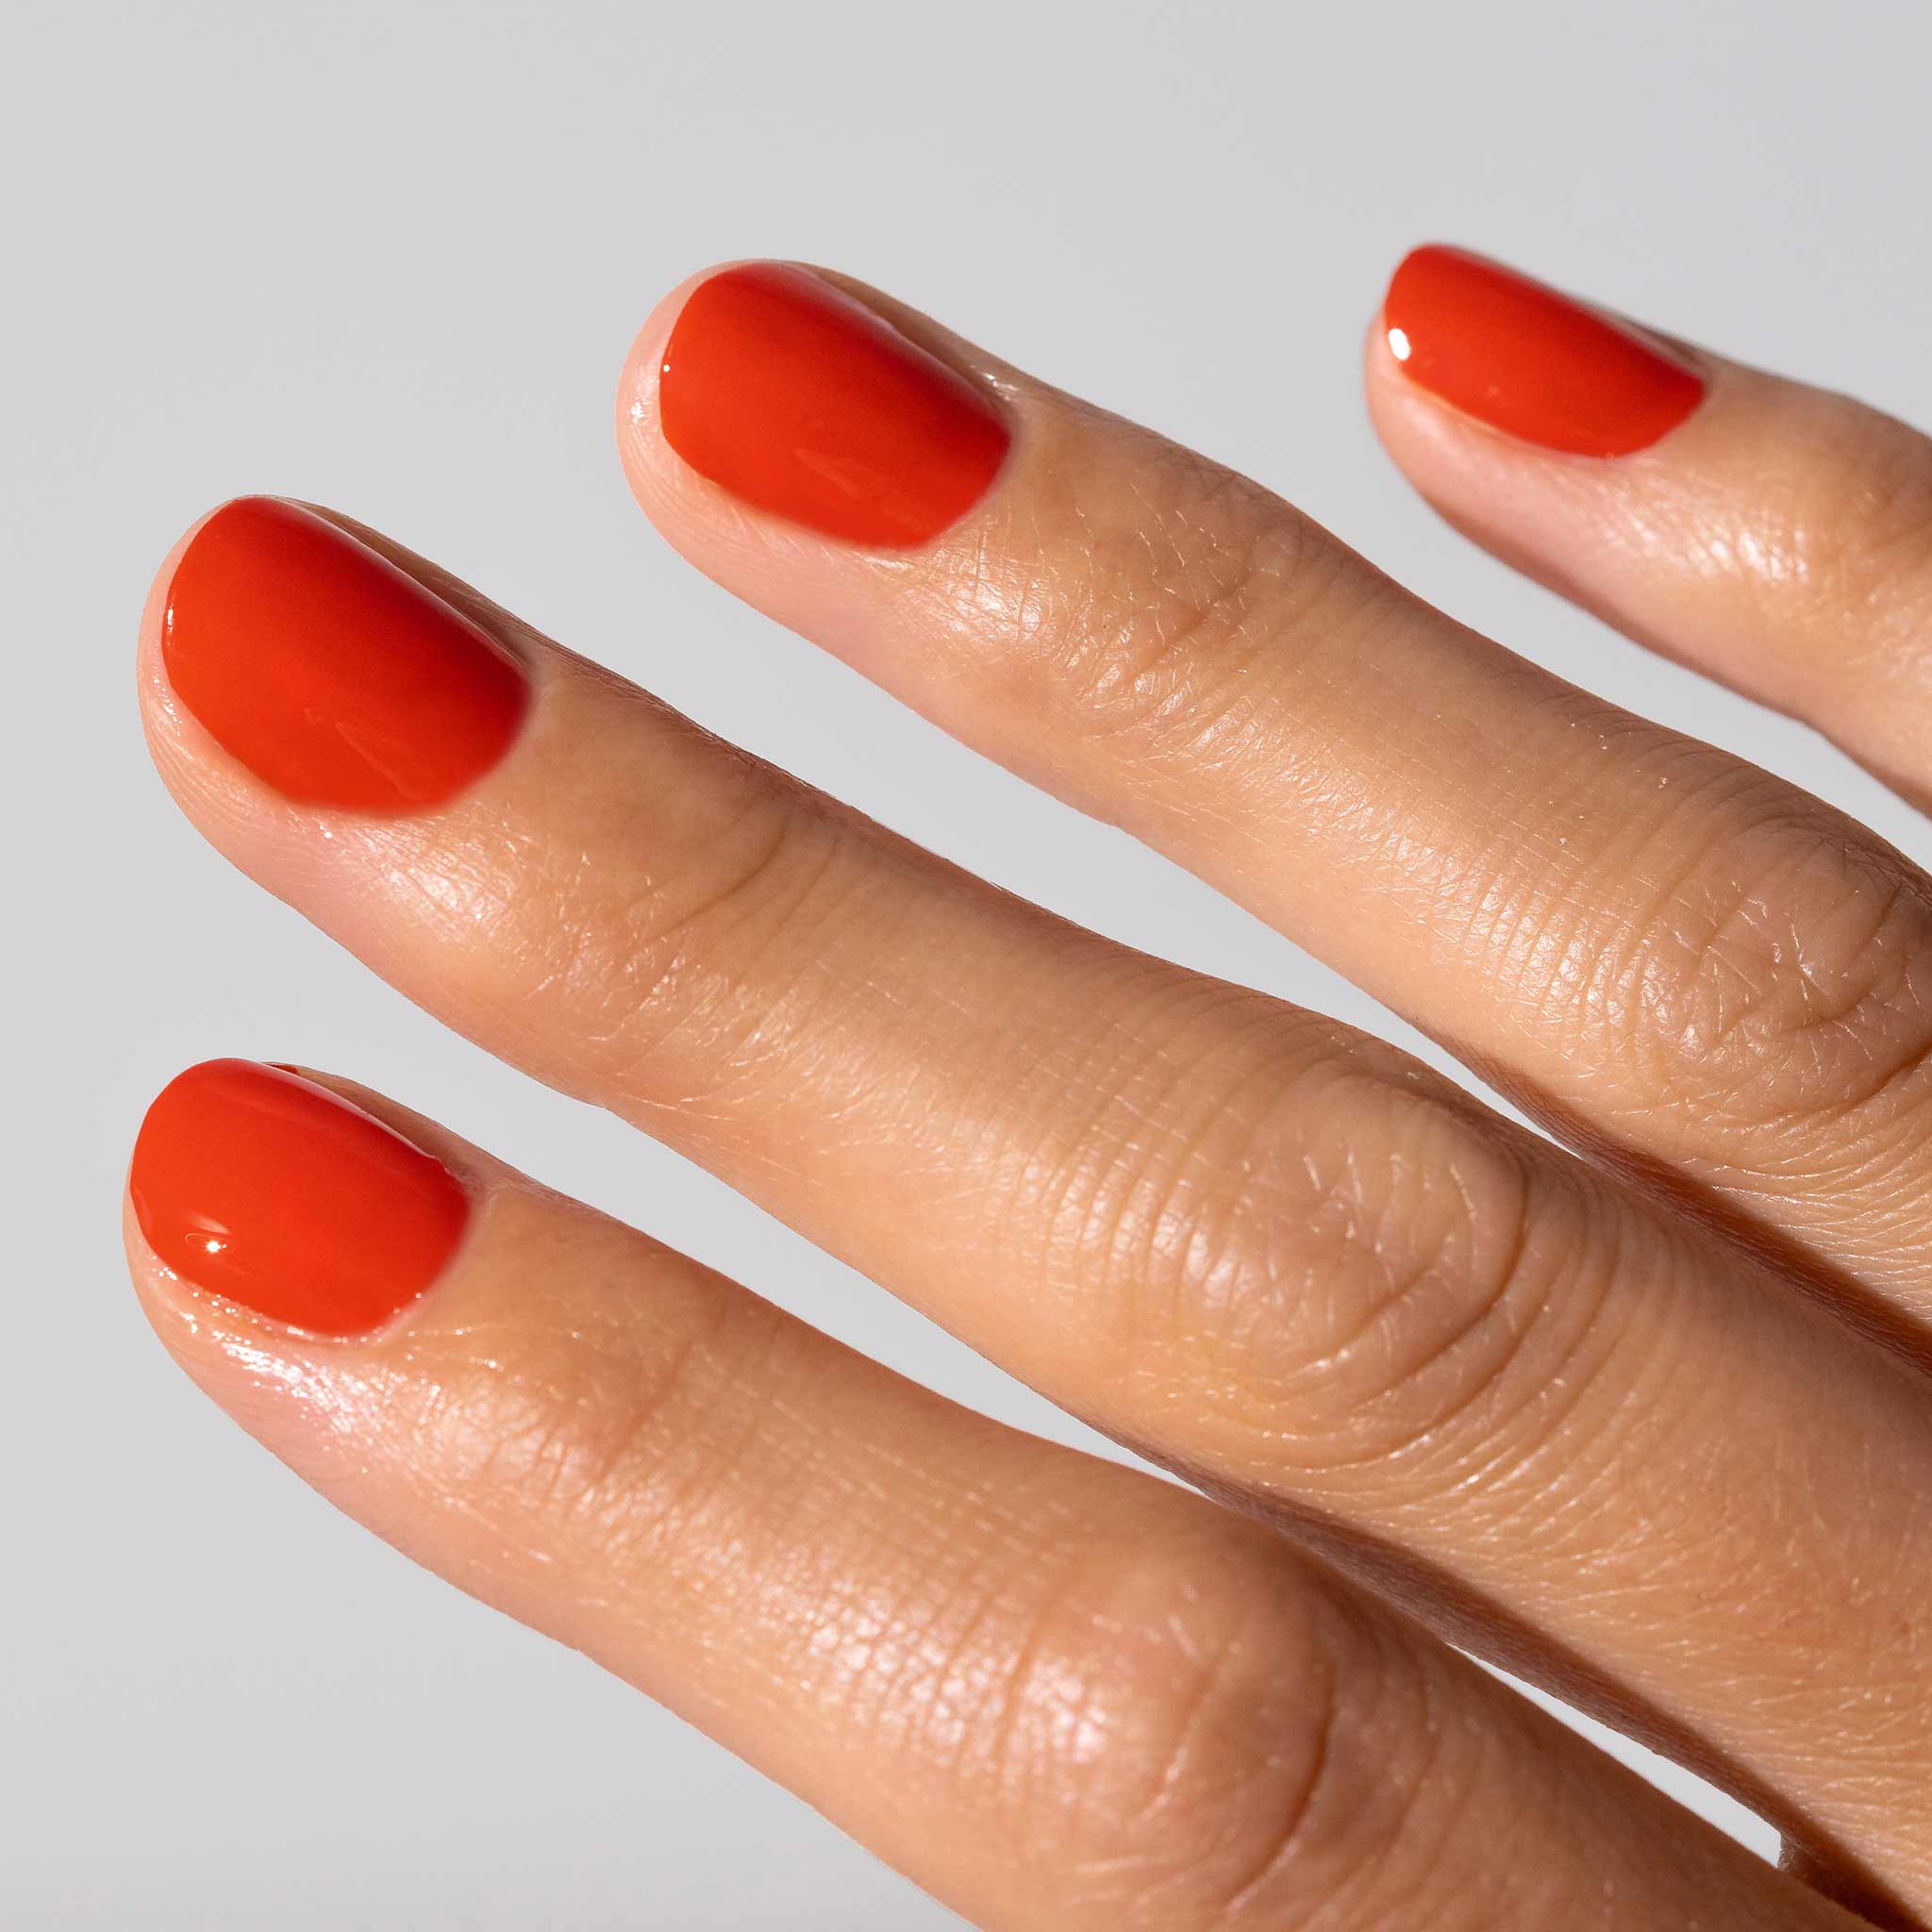
Nagelfarben.
Wähle deine liebste 23-free, vegane Farbe aus unserer kuratierten Kollektion von mehr als 60 einzigartigen Farbtönen. Trage ein bis zwei dünne Farbschichten auf und lass sie zwischendurch gut trocknen.
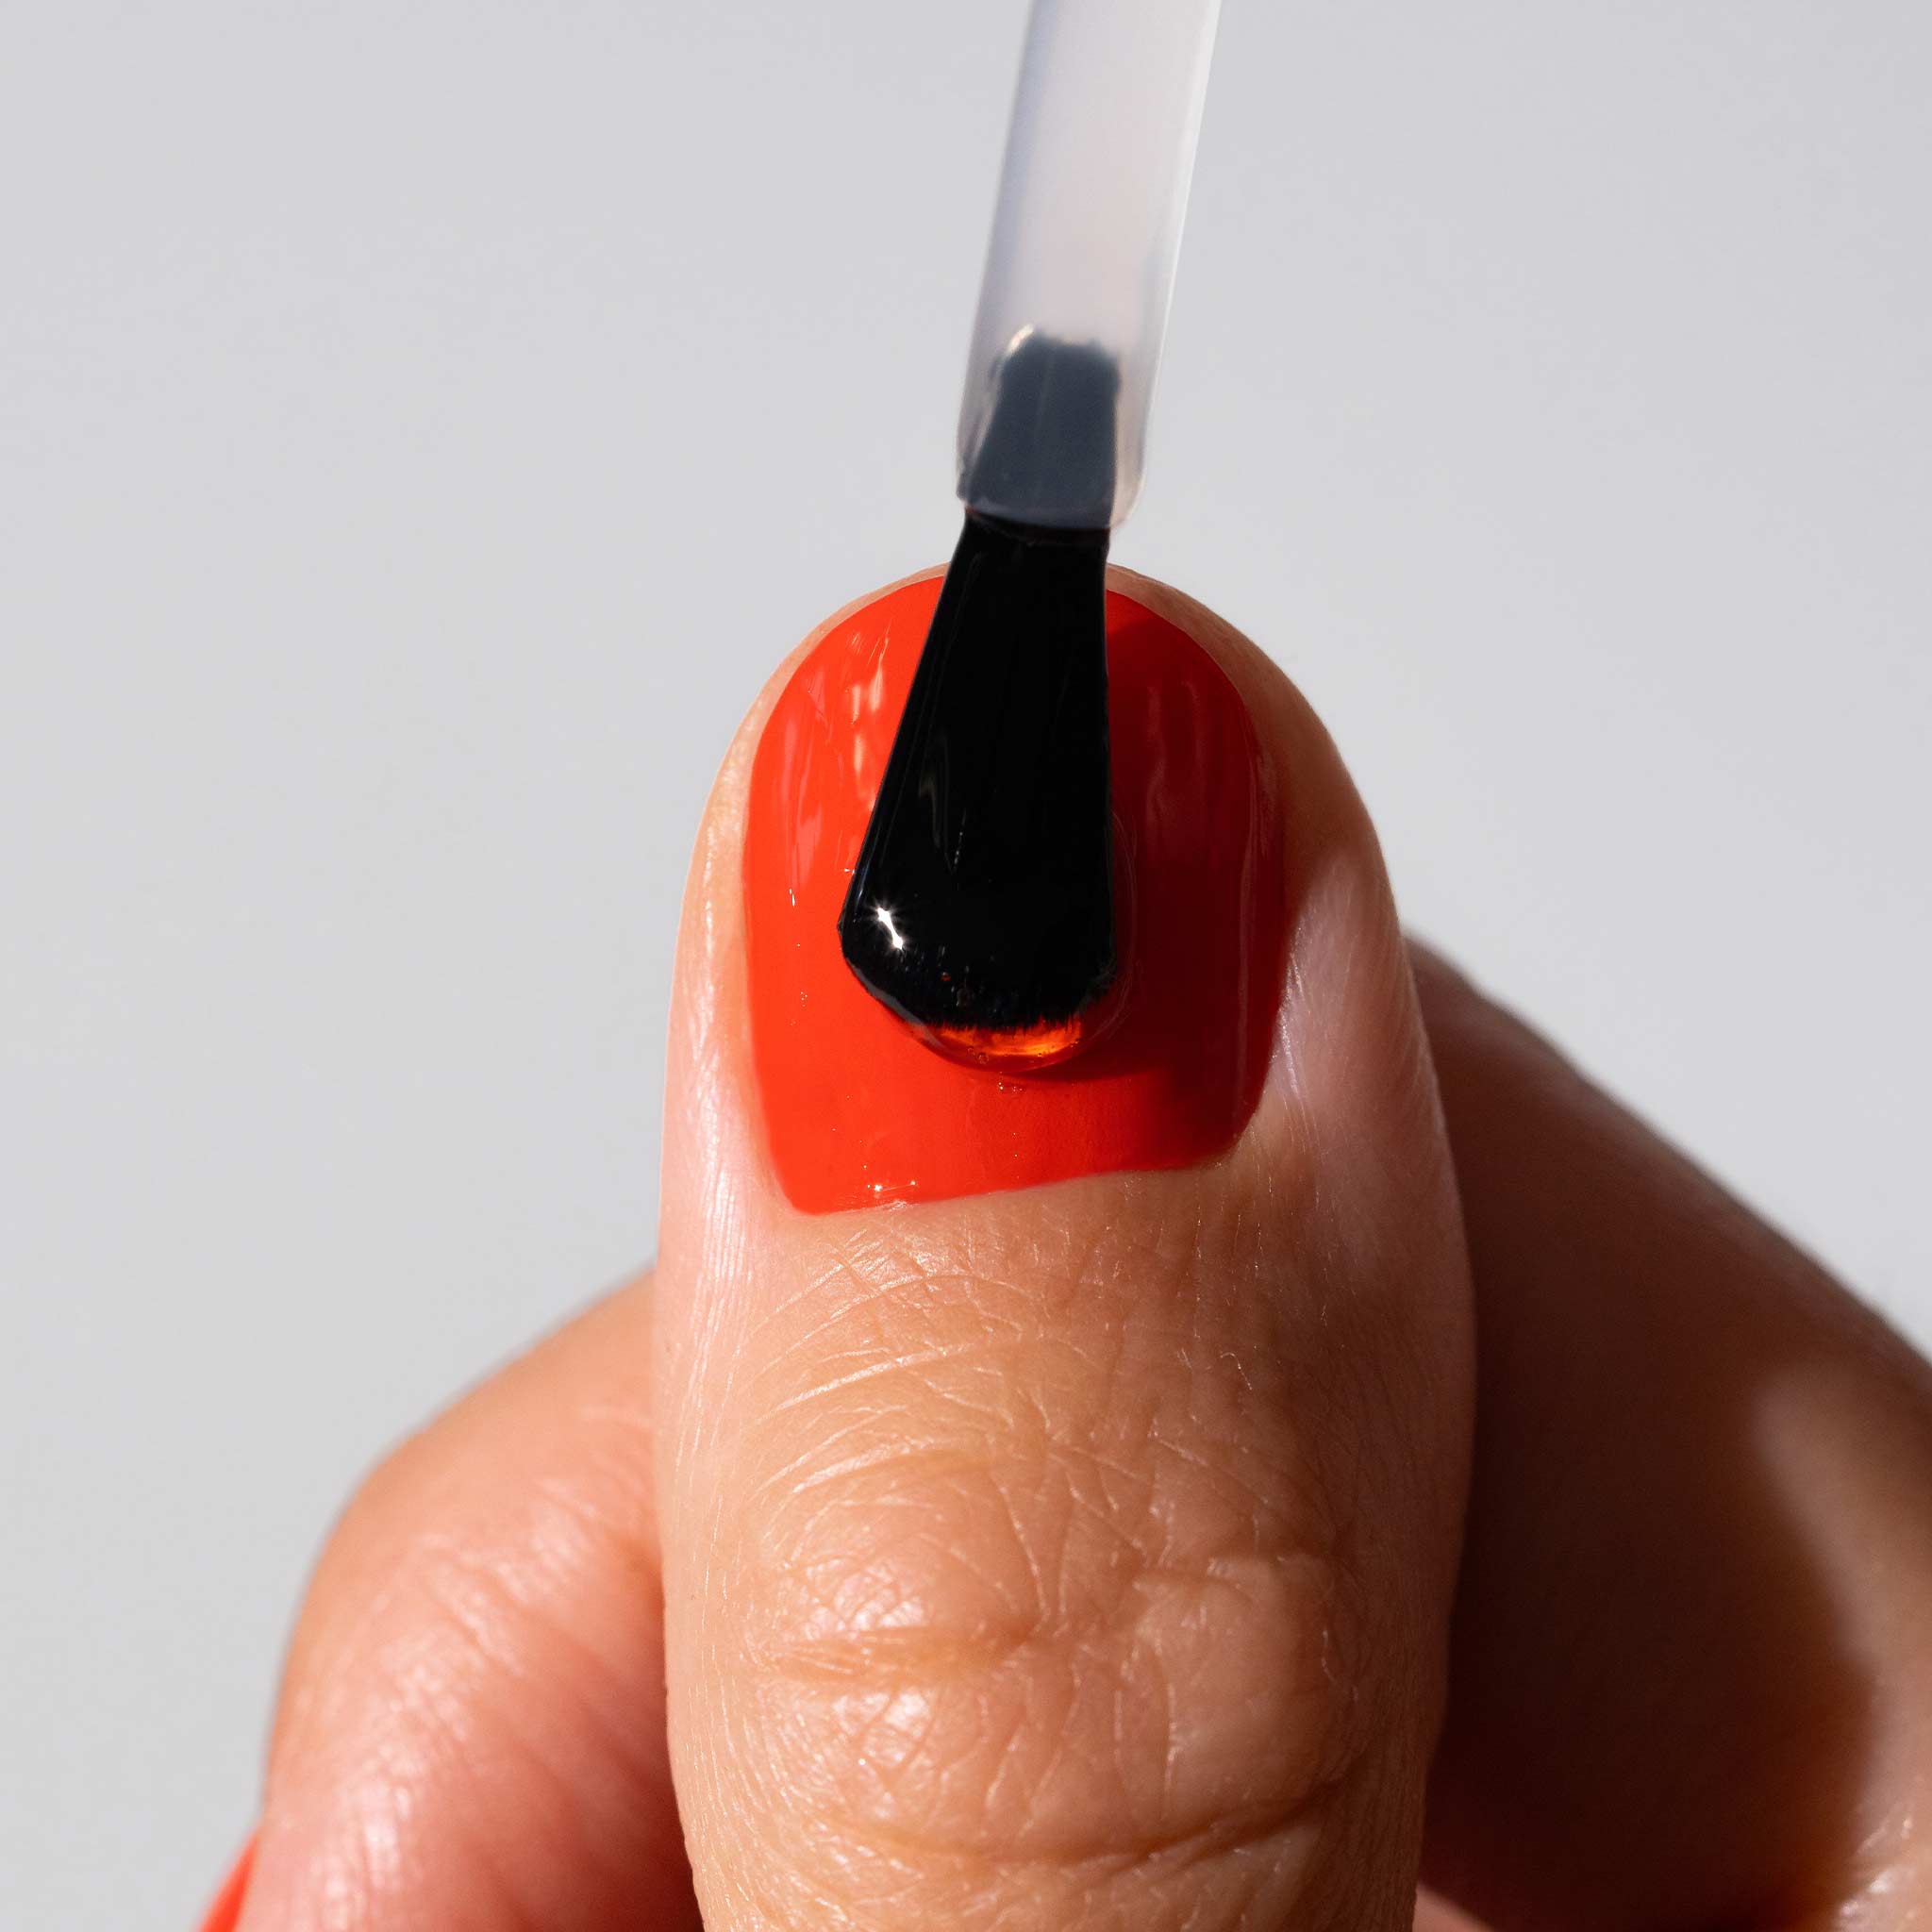
High Gloss Top Coat.
Versiegle die Farbe mit einer Schicht unseres High Gloss Top Coat für eine lang anhaltende, extra glänzende Maniküre wie im Salon. Die Formel sorgt für einen Schutzschild, der verhindert, dass die Maniküre absplittert, und hält bis zu 10 Tage.
Smoothing Nail Primer.
Beginne mit einer Schicht Nail Primer auf sauberen, fettfreien Nägeln. Unser Primer ist mit Kaolin und Mastix angereichert, um Unebenheiten auszugleichen und die Nageloberfläche zu glätten - die ideale Grundlage für Ihre lang anhaltende Maniküre.
Nagelfarben.
Wähle deine liebste 23-free, vegane Farbe aus unserer kuratierten Kollektion von mehr als 60 einzigartigen Farbtönen. Trage ein bis zwei dünne Farbschichten auf und lass sie zwischendurch gut trocknen.
High Gloss Top Coat.
Versiegle die Farbe mit einer Schicht unseres High Gloss Top Coat für eine lang anhaltende, extra glänzende Maniküre wie im Salon. Die Formel sorgt für einen Schutzschild, der verhindert, dass die Maniküre absplittert, und hält bis zu 10 Tage.
Was ist der Unterschied zwischen dem Infinite Gloss System und der Routine mit 2-in-1 Top&Base Coat?
Lerne die Unterschiede kennen und finde heraus, welche Routine die Richtige für dich ist.

Infinite Gloss System.
- Hochglänzendes Finish mit Gel-Effekt
- Ultimative Haltbarkeit von bis zu 10 Tagen
- Gel-Look ohne UV-Lampe und aufwändige Besuche im Salon
- Nachgewiesene stärkende Wirkung der Nägel durch den Primer
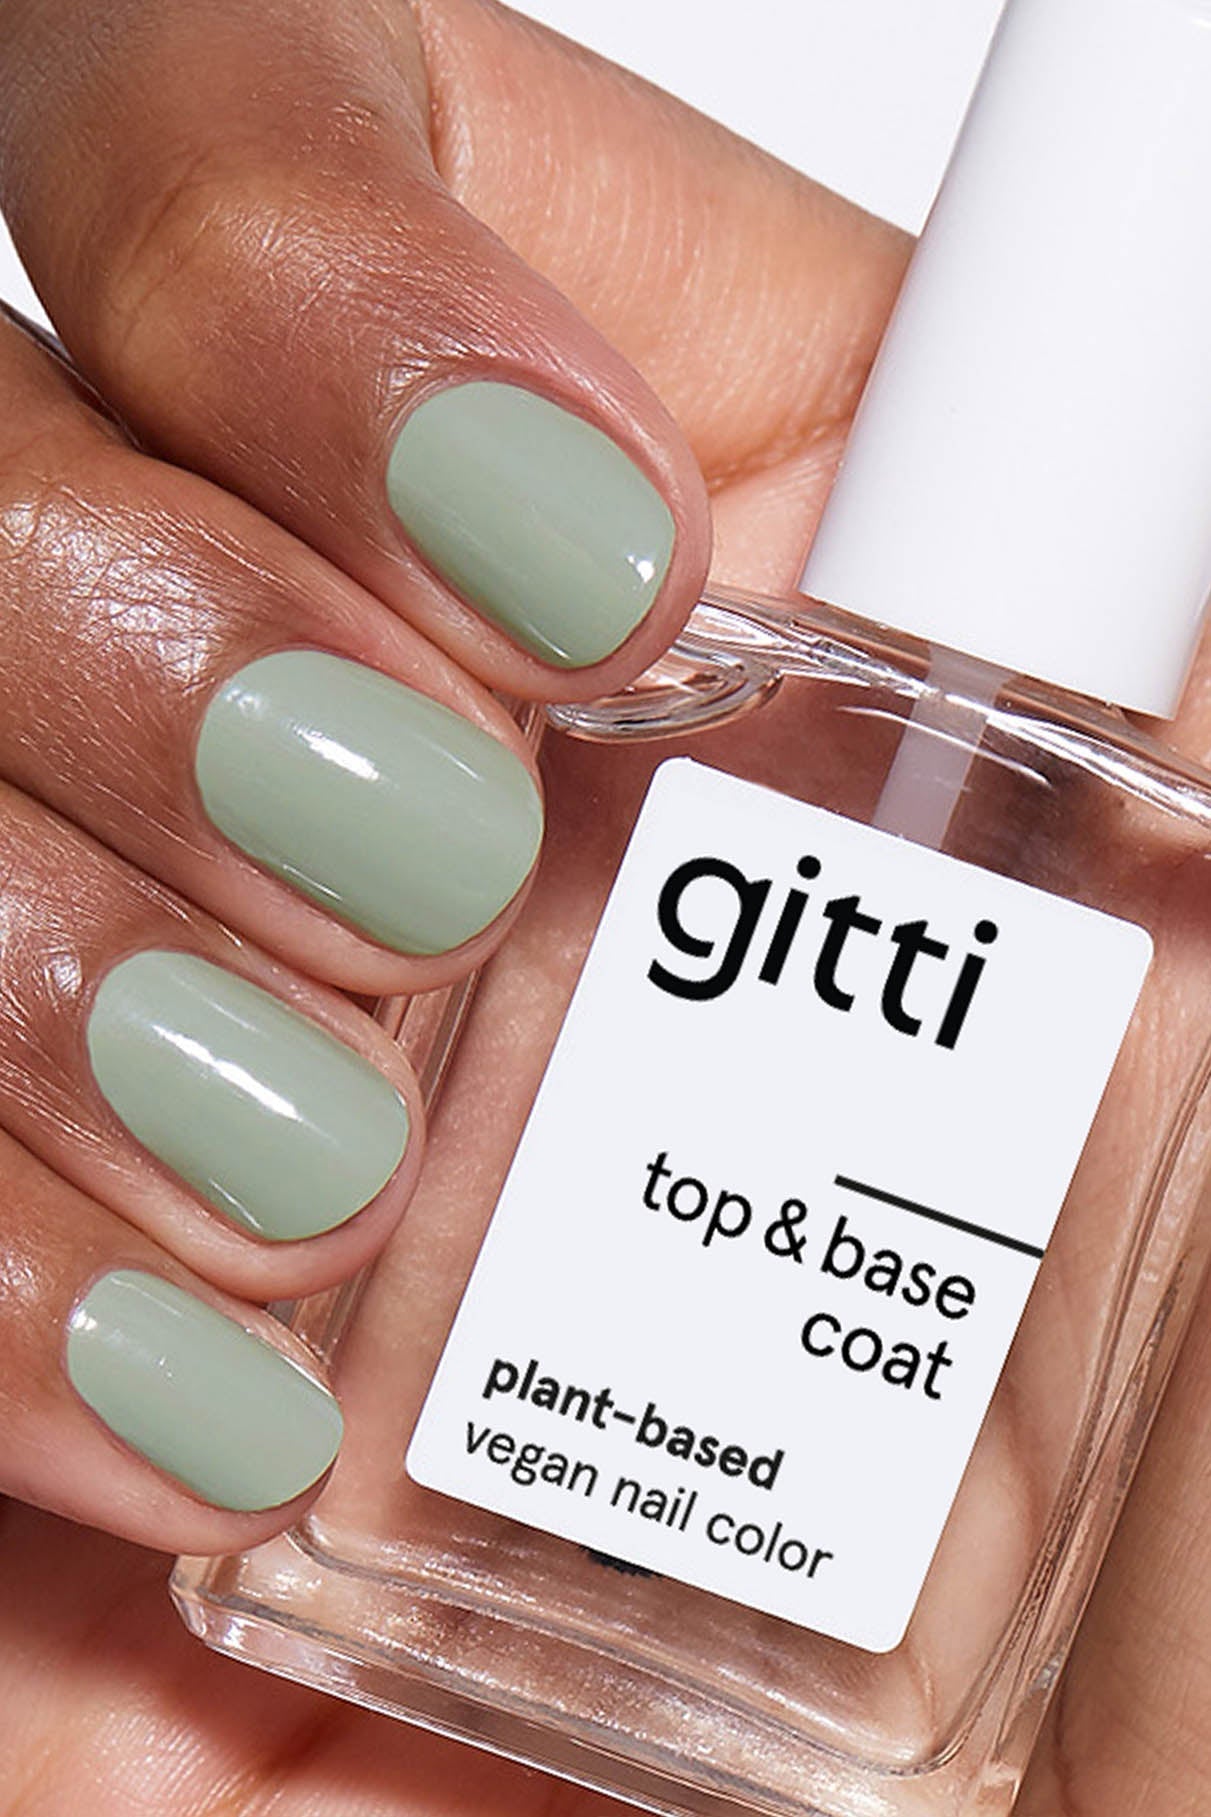
2-in-1 Top & Base Coat.
- Sanfteres, weniger glänzendes Finish
- Haltbarkeit bis zu 7 Tage
- Natürlicheres Aussehen
- Einfach zu entfernen
- 2-in-1 Formel des Top&Base Coats
Infinite Gloss System.
- Hochglänzendes Finish mit Gel-Effekt
- Ultimative Haltbarkeit von bis zu 10 Tagen
- Gel-Look ohne UV-Lampe und aufwändige Besuche im Salon
- Nachgewiesene stärkende Wirkung der Nägel durch den Primer
2-in-1 Top & Base Coat.
- Sanfteres, weniger glänzendes Finish
- Haltbarkeit bis zu 7 Tage
- Natürlicheres Aussehen
- Einfach zu entfernen
- 2-in-1 Formel des Top&Base Coats
Alle Top & Base Coats.


Lust auf Mehr?
Starke Nägel sind die perfekte Grundlage für deine Maniküre.
Stärke deine Nägel, damit sie nicht splittern oder brüchig werden, und schütze sie vor Verfärbungen. Der pflanzliche Nagelhärter mit Amethystpulver, veganem Keratin und Vitamin C ist deine Lösung.


Verwende die Richtigen Tools.
Besorge dir einige wichtige Tools, um deine Maniküre und Nagelpflege effizienter zu gestalten.


Das richtige Add-on für deine Maniküre.
Lass deine Nagelfarbe schneller trocknen, spiele mit dem Finish oder ändere deinen Look - alles für deine individuelle Maniküre.


Bezahle mit
Bezahle mit
